Tips to Help Your Vancouver Renovation Flow Through the Disposal and Diversion Stage
Renovation projects move fast, and the waste removal side of things should keep up. Bin There Disposal Services Ltd. works with homeowners and contractors across Metro Vancouver who want their disposal setup sorted before the job starts, not after the first load of debris has nowhere to go.
Getting the dumpster rental side of a Vancouver renovation right from the start comes down to a few decisions made early, and each one has a direct impact on how smoothly the rest of the project runs.
In This Article:
- Choosing the Right Bin Size Before Demo Day
- Planning Placement So the Crew Can Work Without Interruption
- What Size Dumpster Do I Need for a Home Renovation in Vancouver?
- How to Keep the Disposal Side Moving From Start to Finish
Choosing the Right Bin Size Before Demo Day
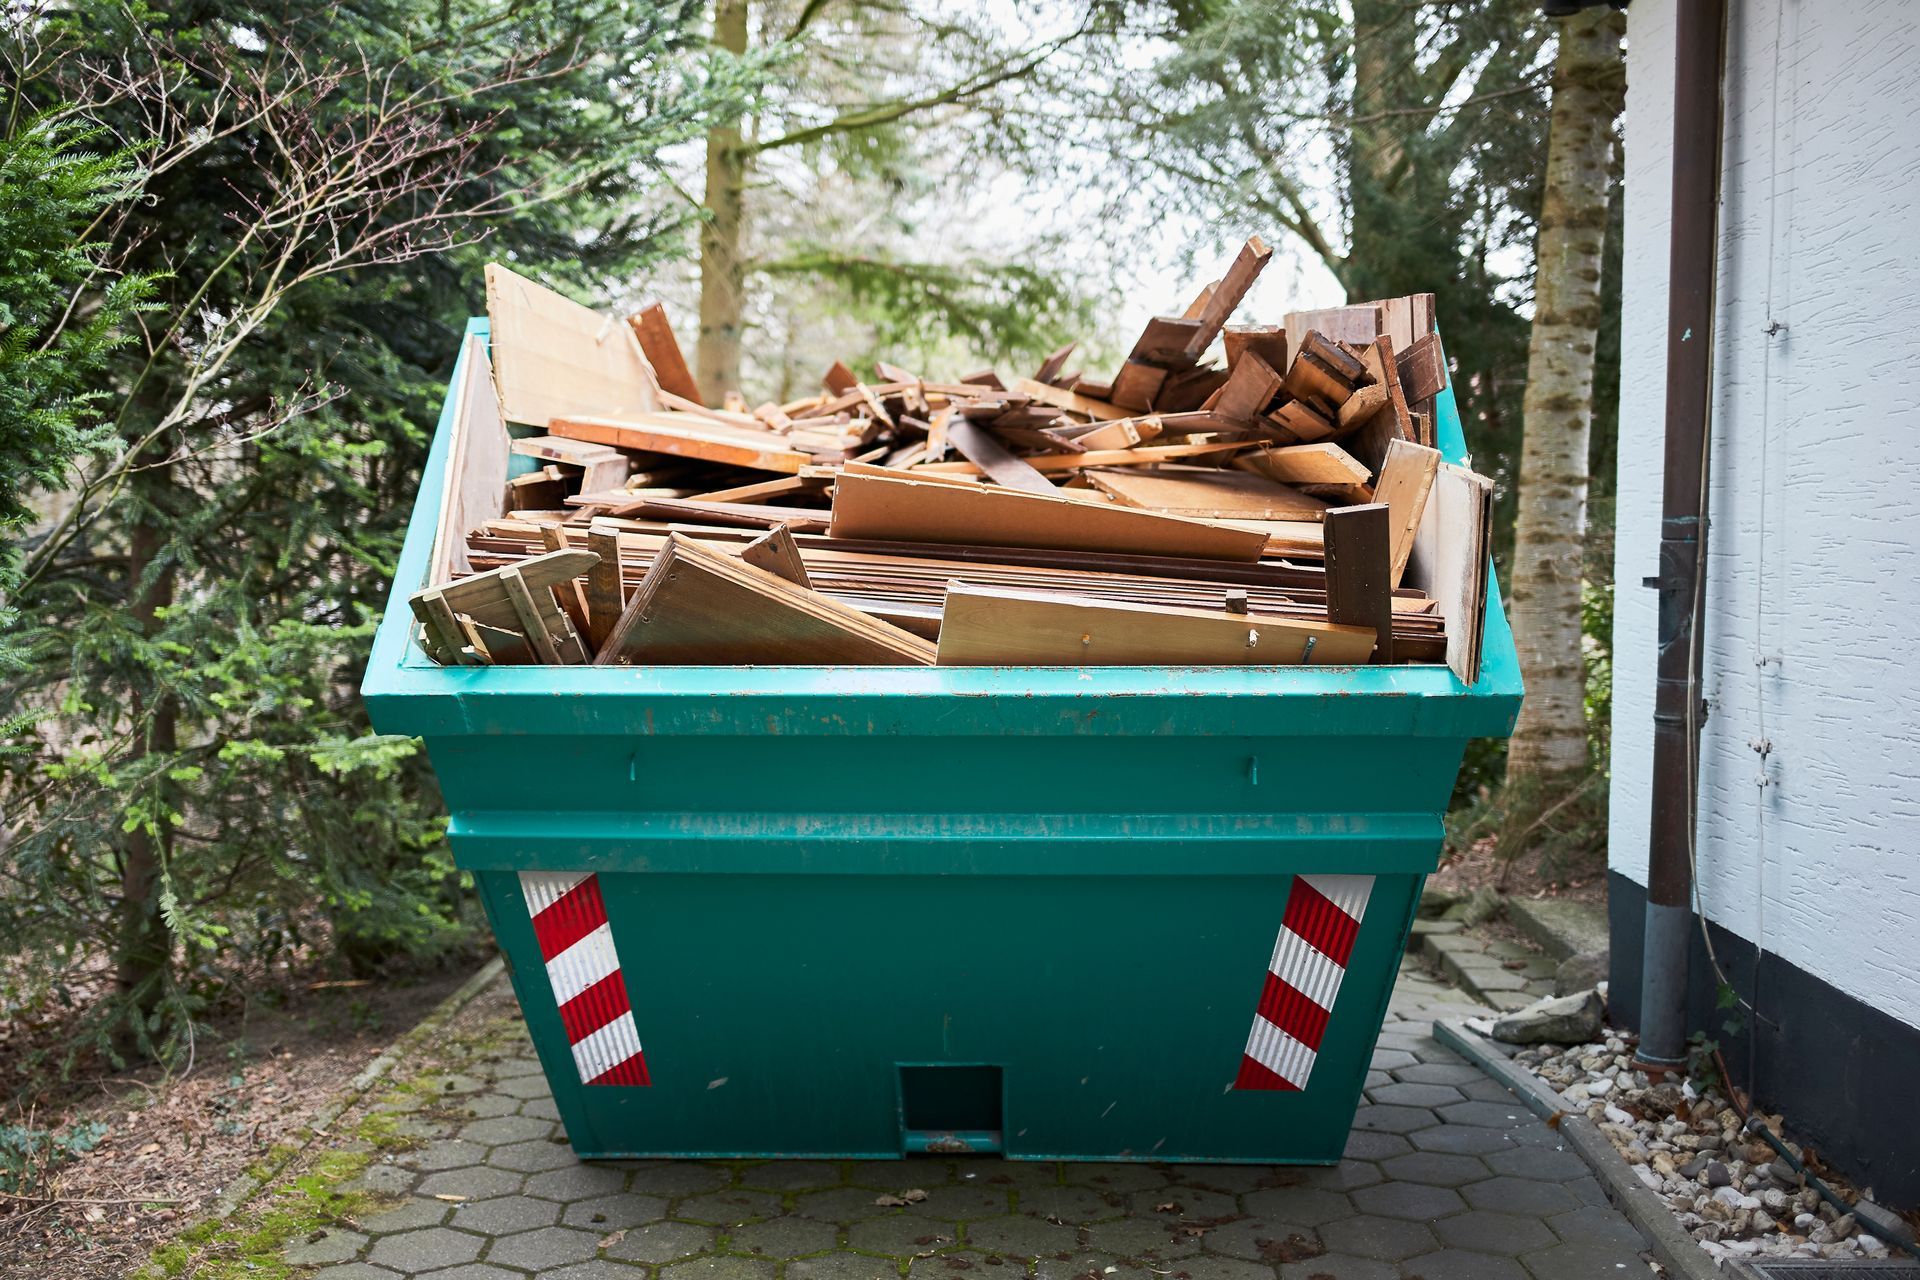
Sizing a bin correctly for a renovation comes down to understanding what is actually coming out of the space, not just how big the room is. A bathroom gut, a kitchen teardown, or a single floor replacement generates a significant volume of material once drywall, tile, cabinetry, and subfloor all come out at the same time.
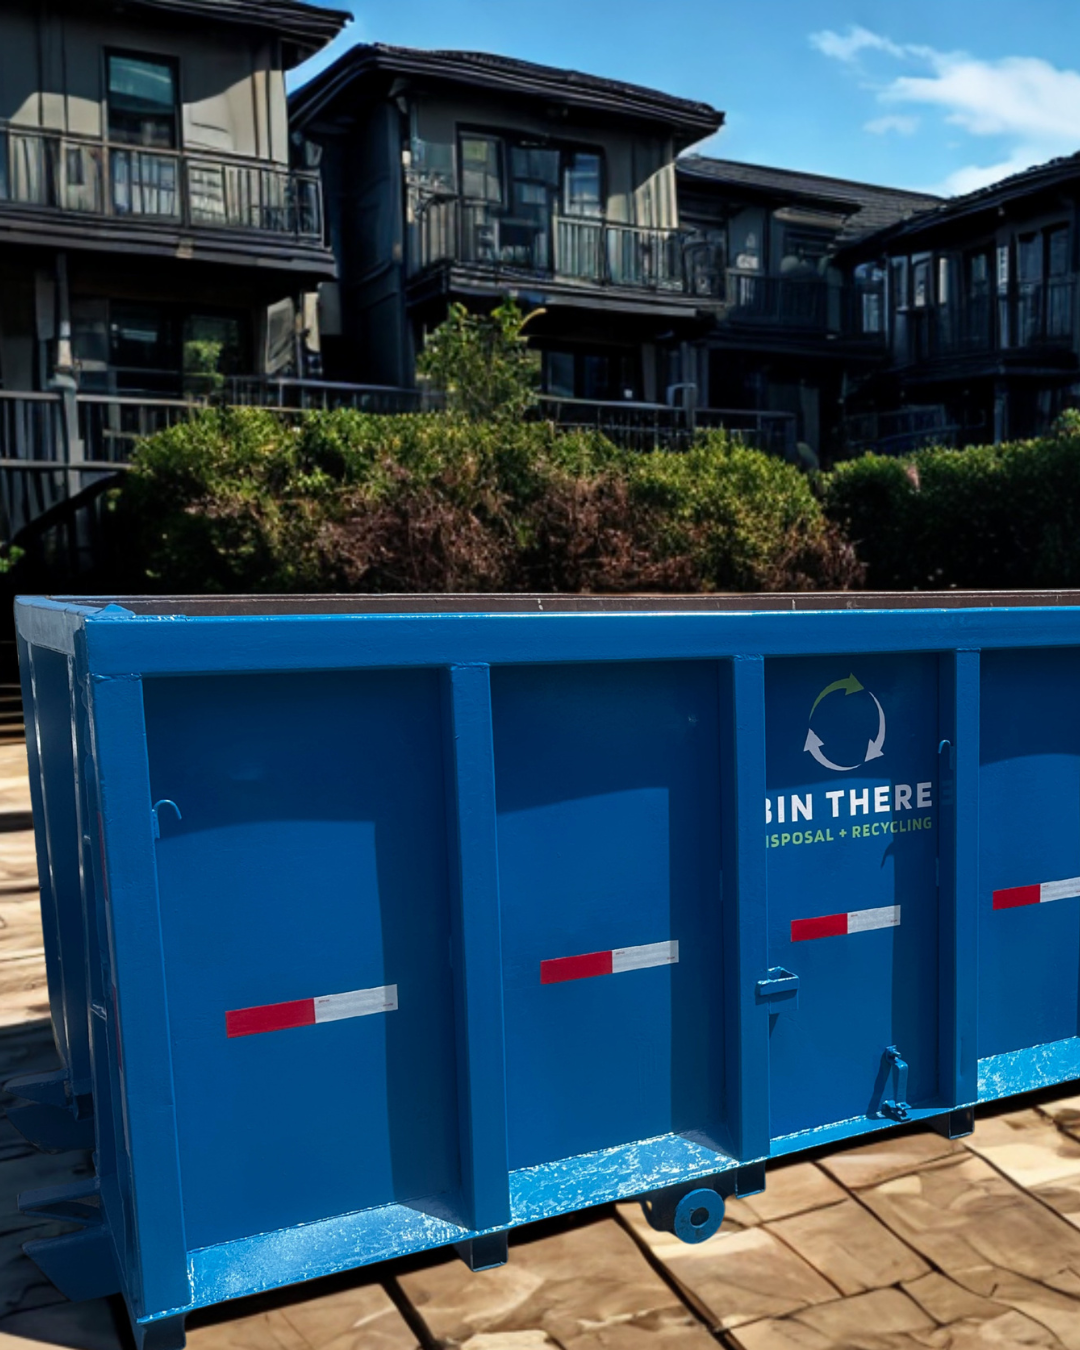
The practical approach is to think in full material loads rather than square footage. A 15-yard bin handles light interior work well. A 20-yard bin is the right fit for mid-size renovation projects with mixed materials. Larger whole-floor or multi-room renovations typically need a 30-yard bin to avoid a mid-project swap that adds cost and downtime.
→ A quick tip to remember: Sizing up slightly from your first estimate is almost always the more cost-efficient decision once the full scope of the teardown becomes clear on demo day.
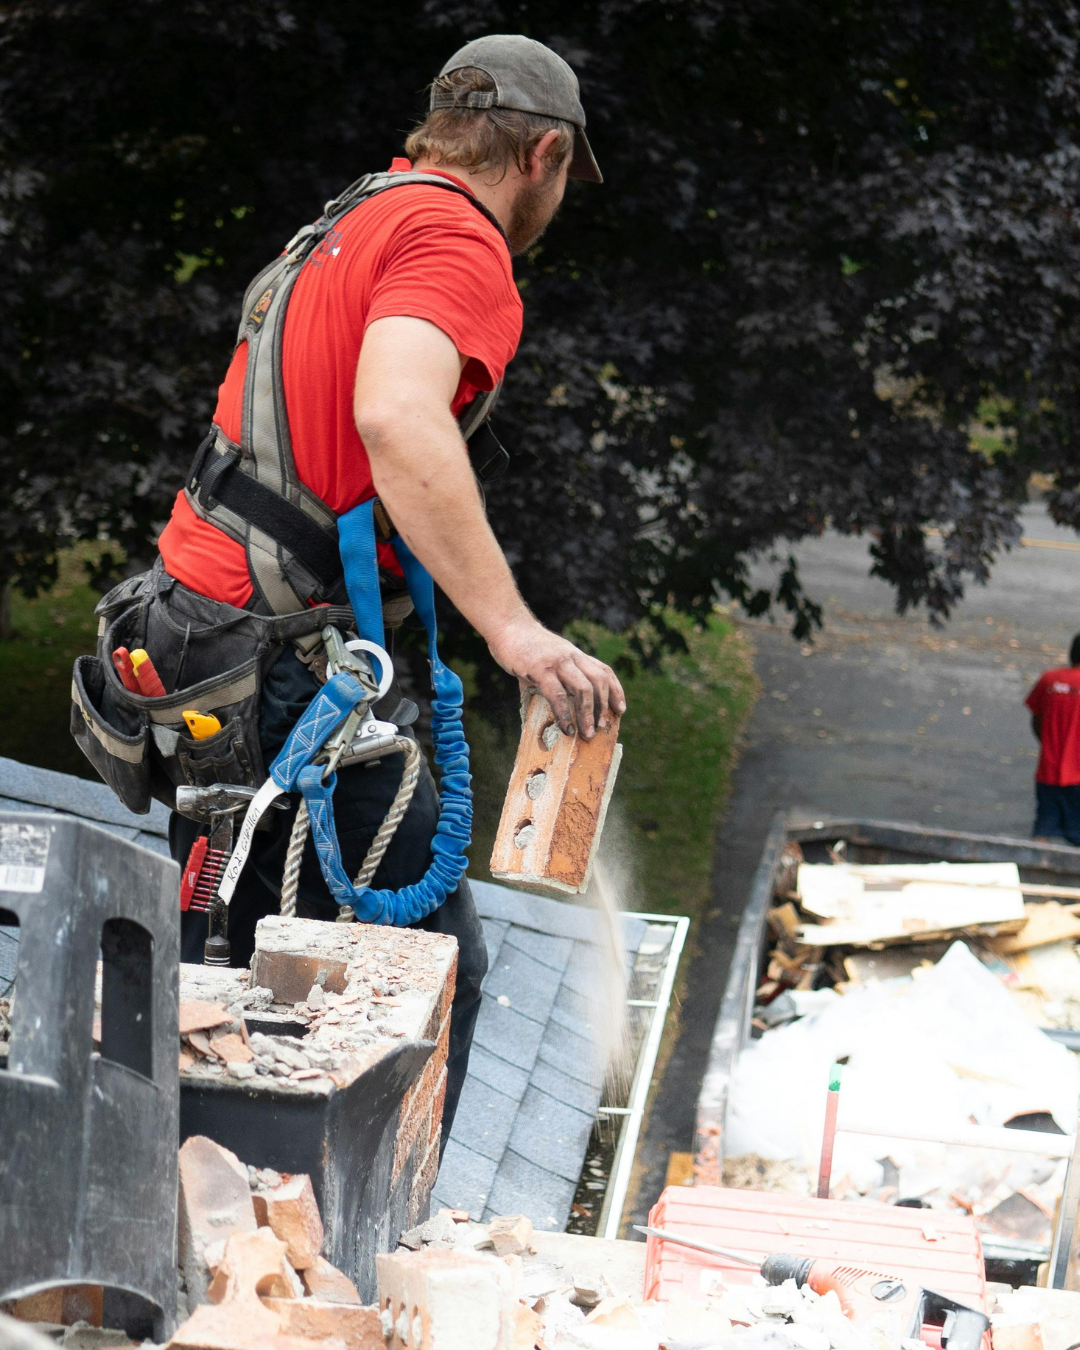
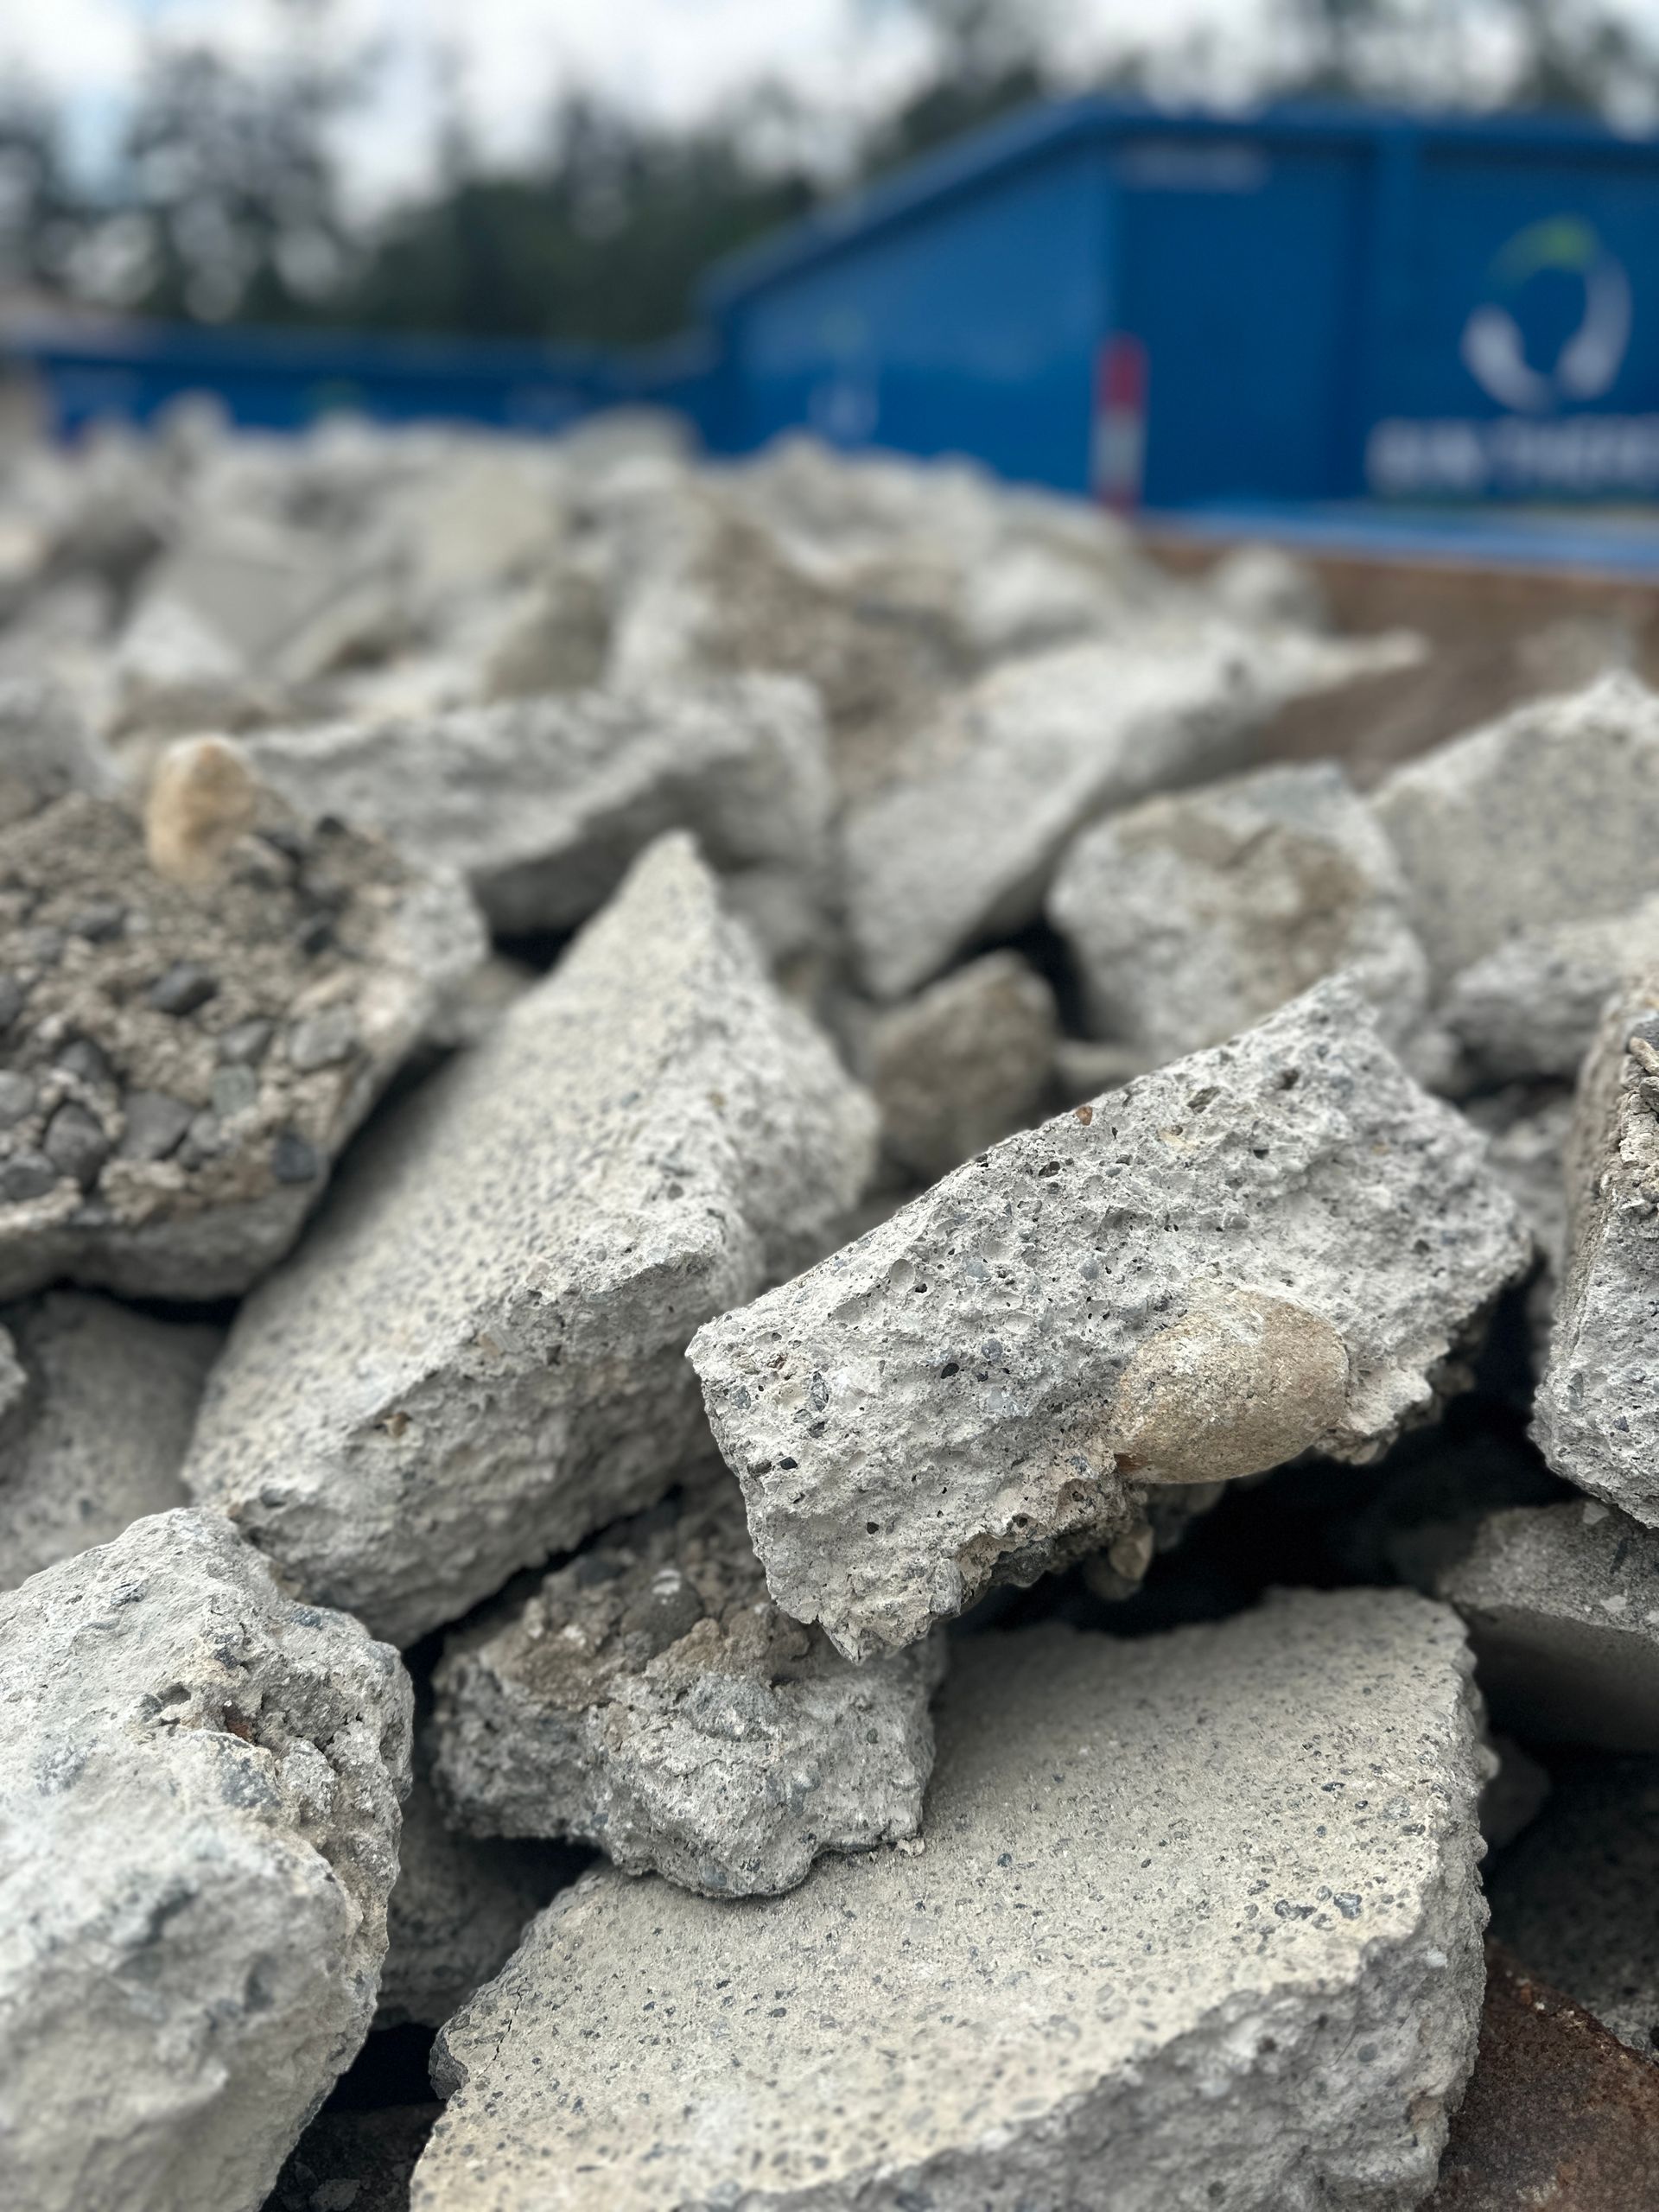
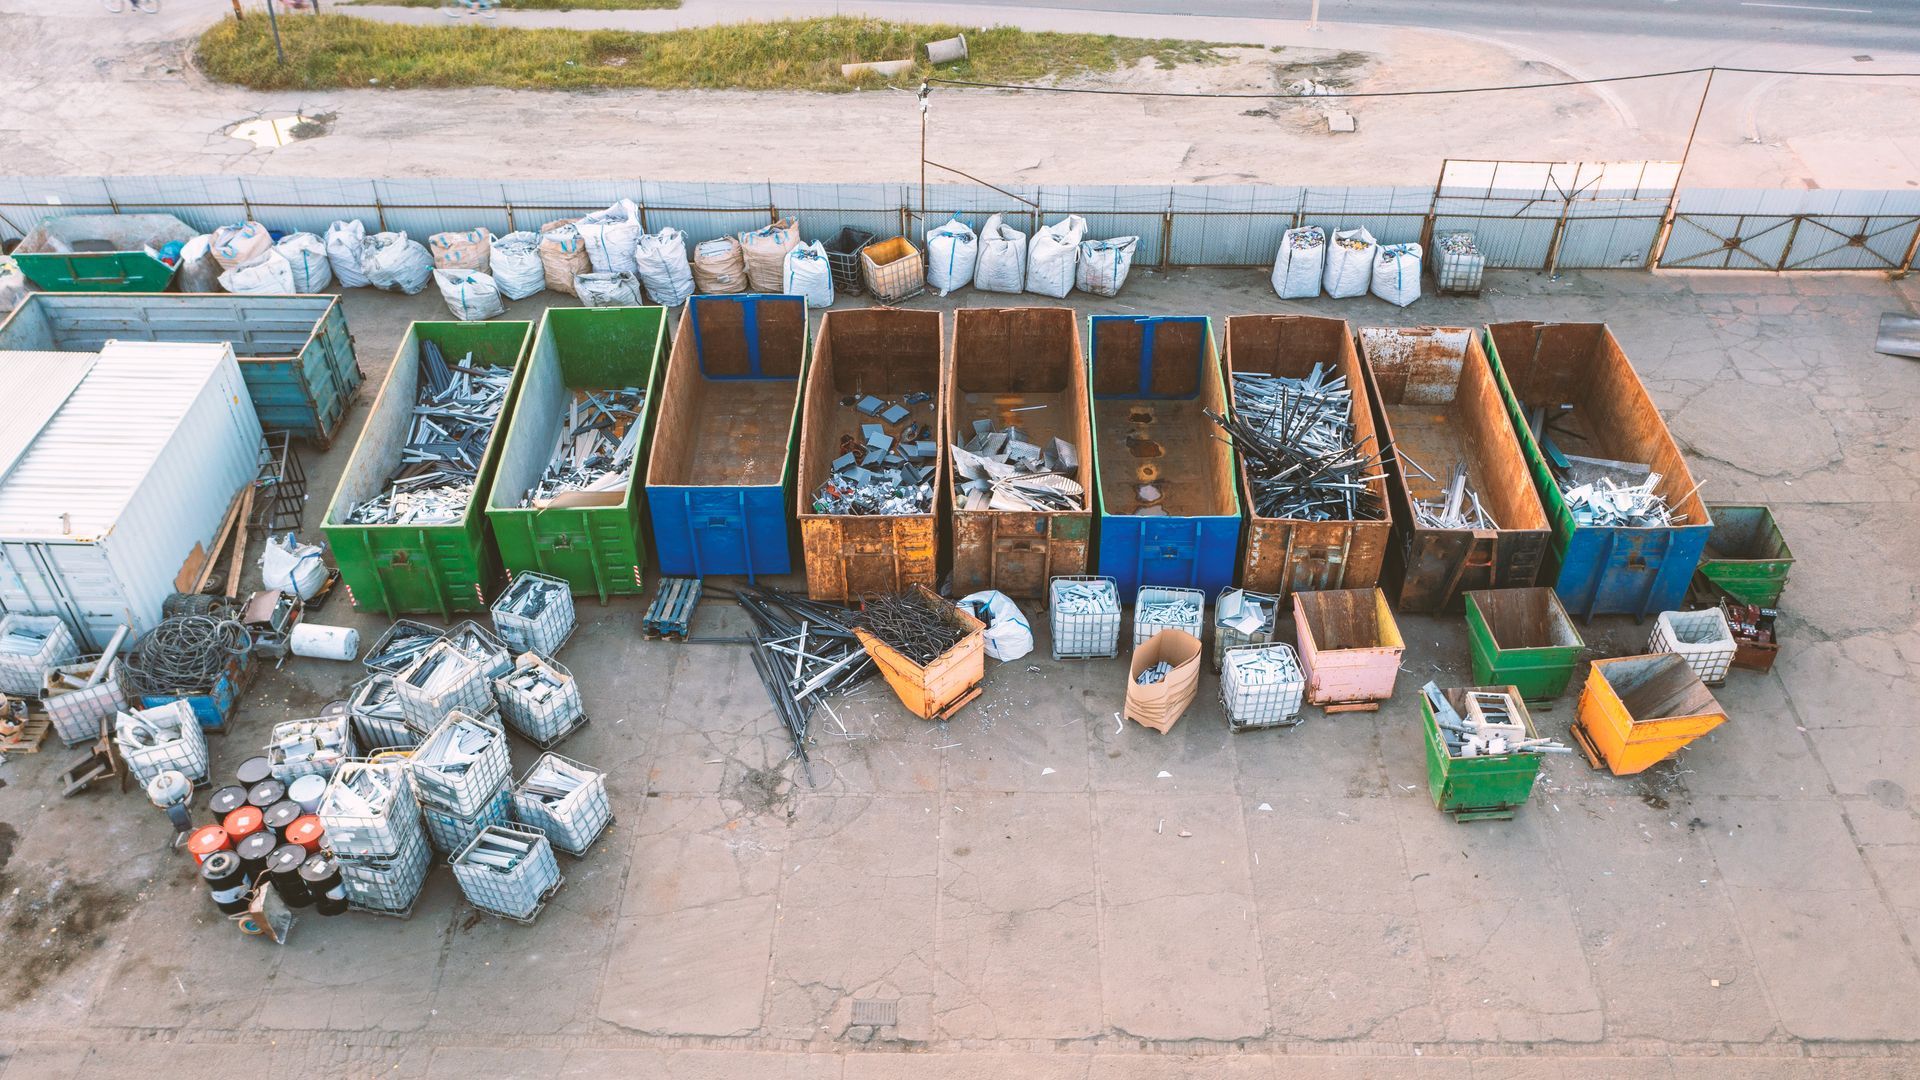
Heavy materials like concrete, brick, and tile change the equation further. Weight limits apply regardless of how much visual space remains in the bin, so projects involving dense materials need a bin rated for the load, not just sized for the volume.
Planning Placement So the Crew Can Work Without Interruption
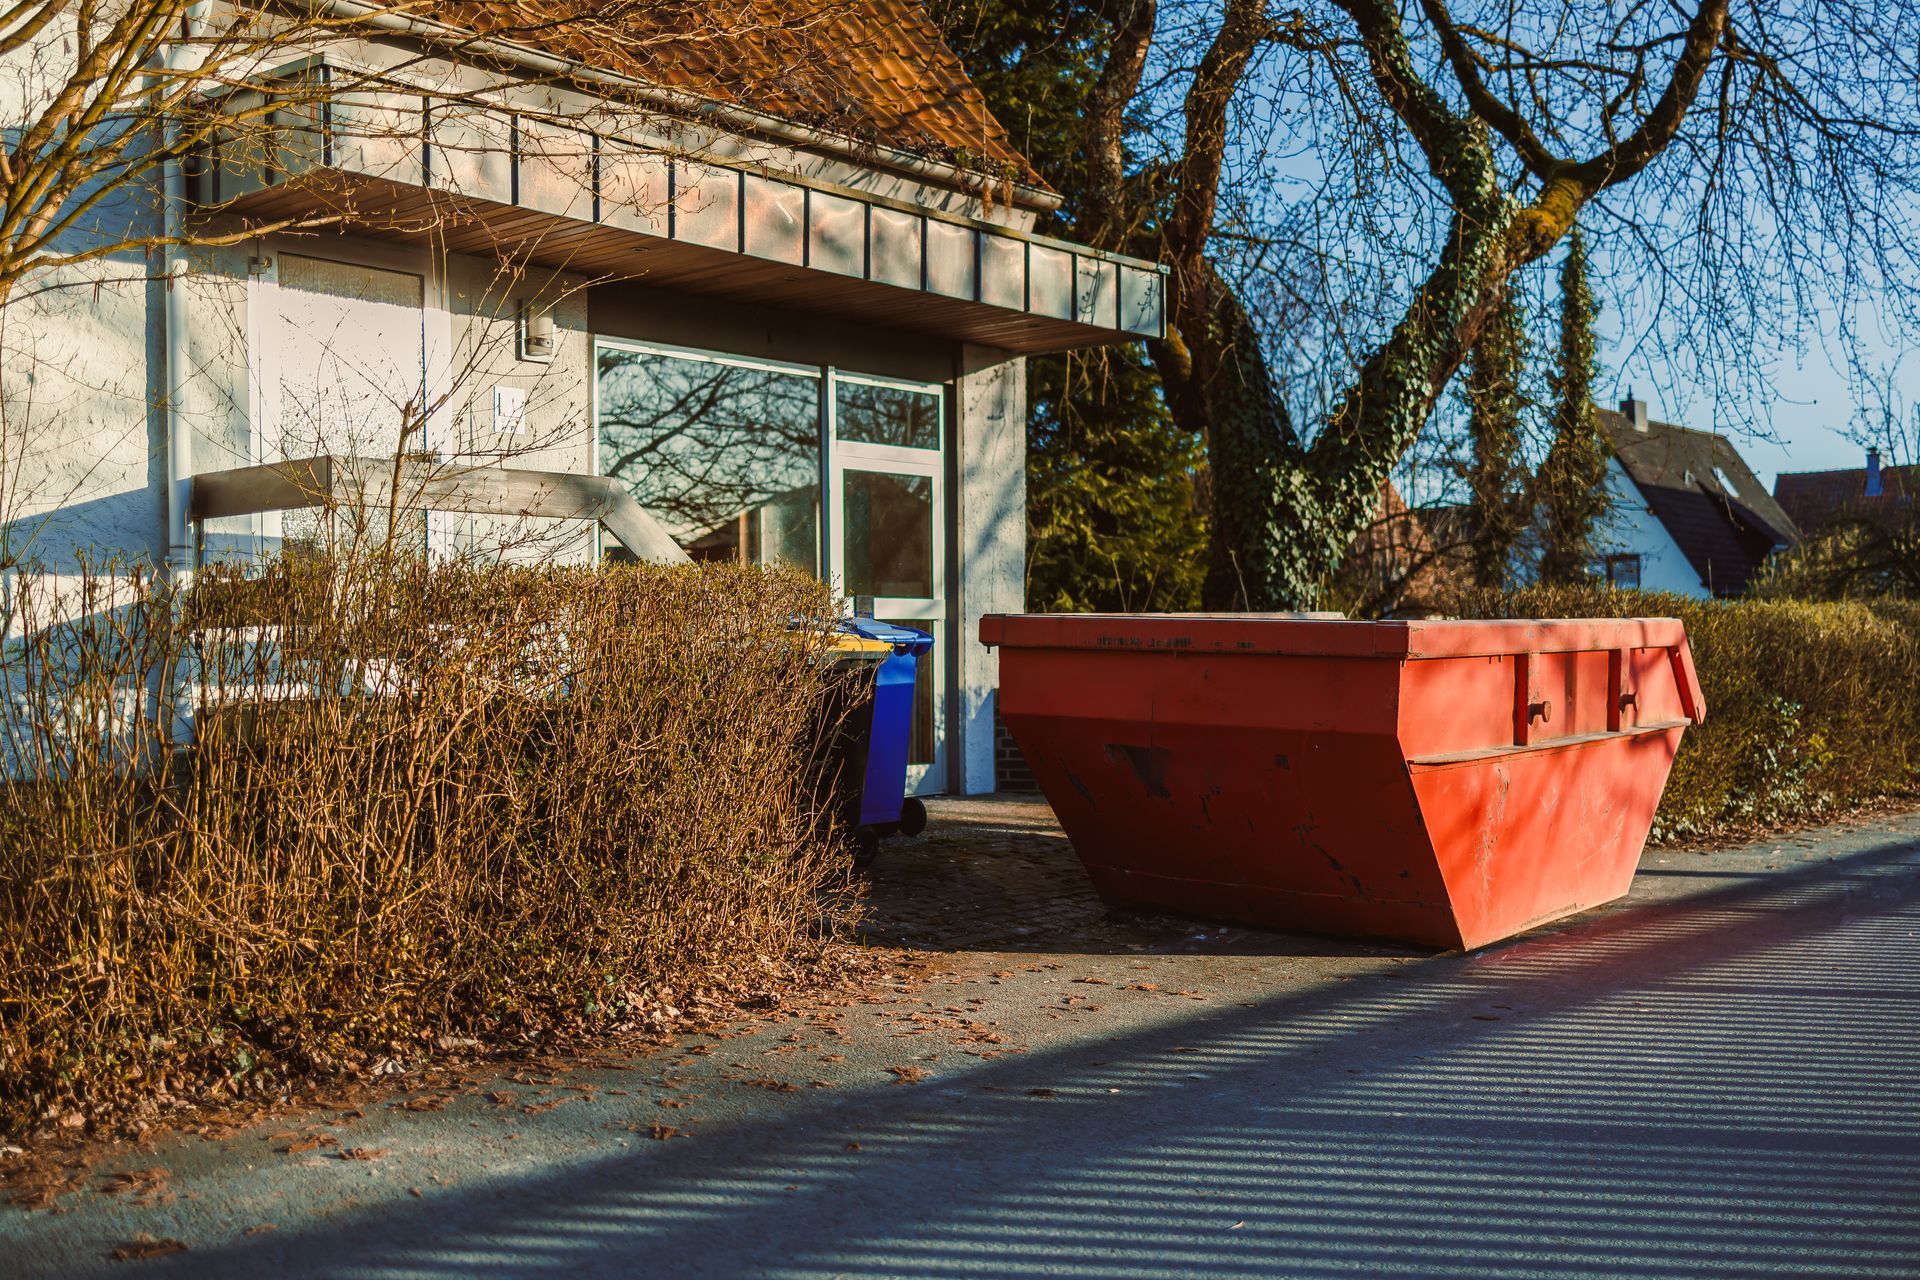
A well-placed bin keeps the worksite clean and the crew productive. A bin that ends up in the wrong spot creates a staging problem that compounds throughout the project, particularly on Metro Vancouver lots where space is already tight.
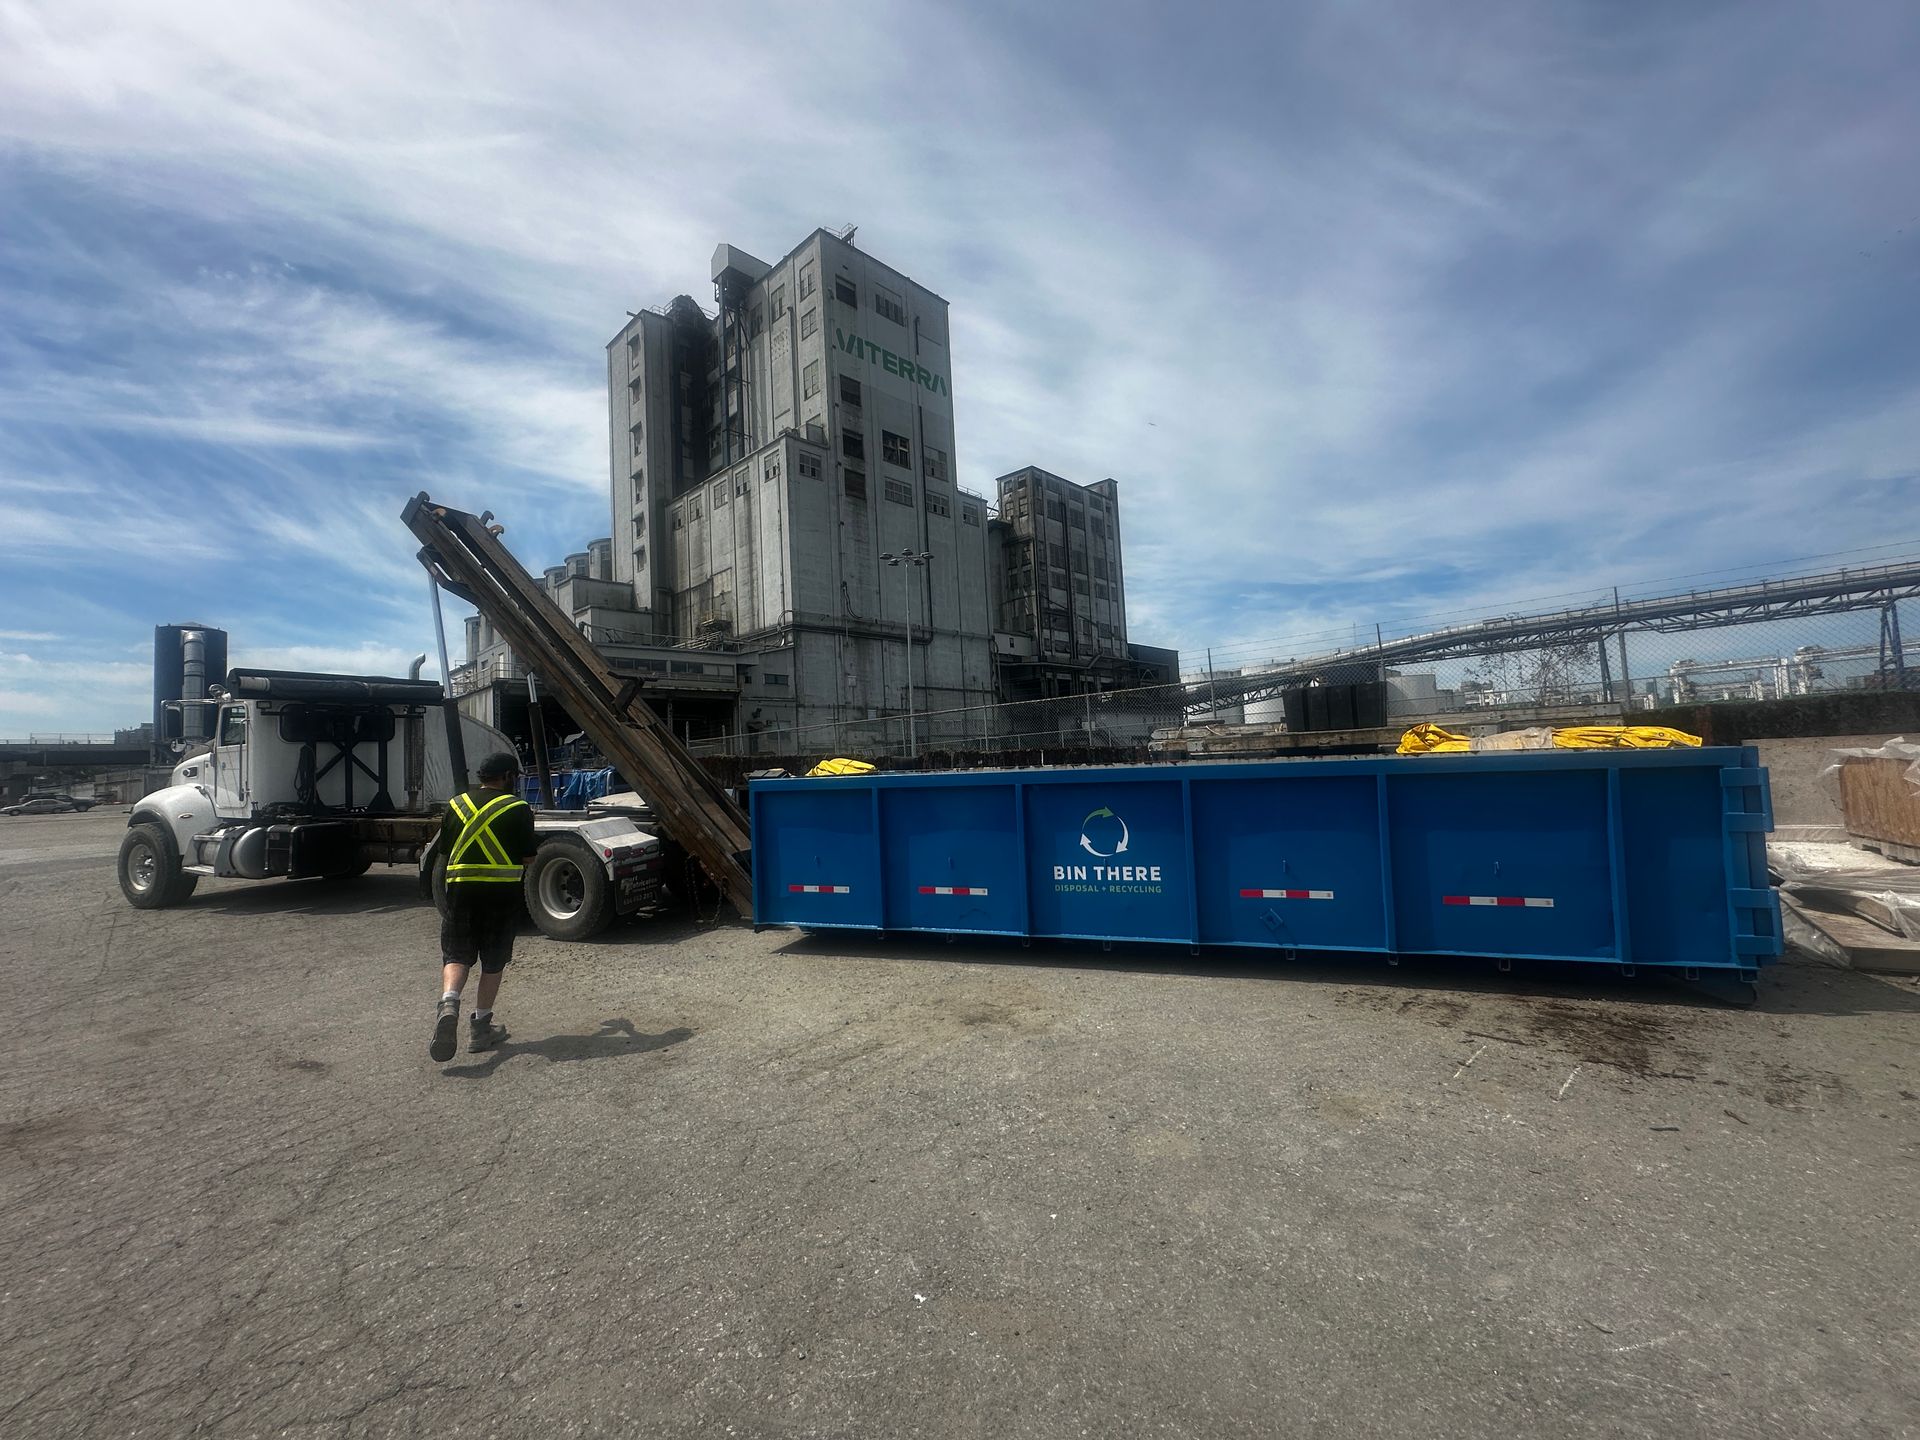
Placement in Vancouver and the surrounding communities involves more variables than most clients anticipate. Street permits for curbside placement require advance processing time. Soft ground, overhead lines, shared driveways, and strata access rules all affect where the bin can go. Getting these details confirmed before delivery day is what keeps the truck from arriving to a situation that cannot be resolved on the spot.
→ A quick tip to remember: Walk the drop zone before booking and note anything overhead, underfoot, or alongside that could affect placement. A two-minute site check prevents a same-day delay.
When placement and sizing are figured out together rather than separately, the bin shows up in the right spot at the right time and the renovation keeps moving.
What Size Dumpster Do I Need for a Home Renovation in Vancouver?
The right size depends on the scope of the work and the materials involved. Light interior renovations with minimal debris fit well in a 15-yard bin. Mid-size projects involving mixed materials, including drywall, tile and cabinetry, are better matched to a 20-yard bin. Larger multi-room or whole-floor renovations generally work best with a 30-yard bin to avoid mid-project swaps. Projects that include heavy materials like concrete, brick, or roofing need a bin rated for heavy loads, where weight capacity matters as much as volume.
When in doubt, a quick call to your disposal provider with a description of the project scope will get you to the right answer faster than estimating alone.
How to Keep the Disposal Side Moving From Start to Finish
Keeping the disposal side of a renovation on track comes down to three habits: knowing your materials before you call, confirming site access before delivery, and booking with enough lead time for logistics to be sorted properly.
A knowledgeable disposal team will ask about the project scope, the materials involved, and the site conditions before recommending a bin. That conversation is what connects the right bin to the right project, and it takes less time than dealing with a swap or a placement issue mid-job.
→ A quick tip to remember: On a Metro Vancouver renovation site, a few extra days of booking lead time is what gives the logistics room to work in your favour.
Set Up Your Disposal Right and Let the Renovation Flow
Getting the bin sizing and placement sorted before demo day is the move that keeps everything downstream running smoothly.
Reach out to the Bin There Disposal Services team early in the planning process, walk through the project scope and site conditions, and get the right bin in the right spot before the first wall comes down!